Millipede Cocktail Glass Restoration
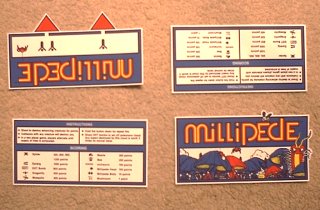
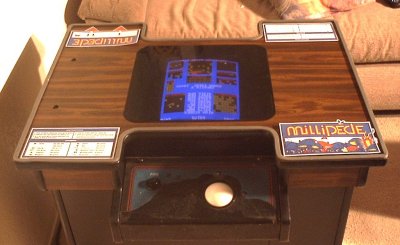
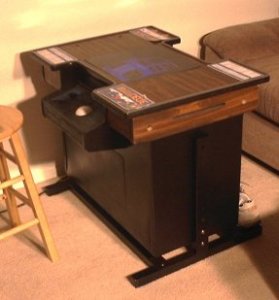
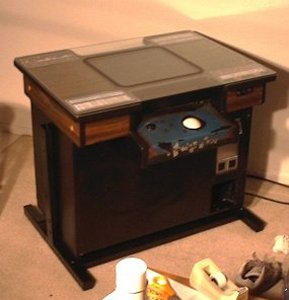
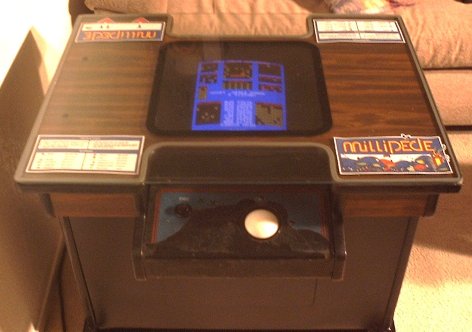
The following images show the artwork I used to restore my Millipede cocktail glass. The artwork on mine was very trashed as you can see by the following pictures. The second image is what I wanted the final cocktail table top to look like when finished, and shows the placement of the individual scans. It is not to scale and is only included for reference. The instruction card is located on each Player's left side, the logo is located on Player Two's right and the start image with the red triangles is located above the start buttons on Player One's right.
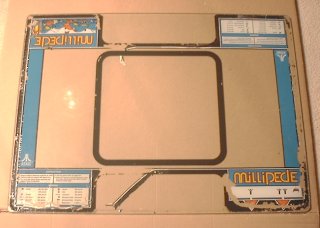
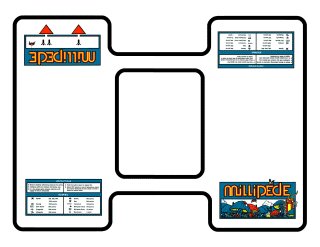
After scanning in the original corners at 300 dpi, they were all redrawn by hand. This took several days and some liberty was taken on the background color. The color does not match perfectly, but makes a very nice looking set of replacement artwork.
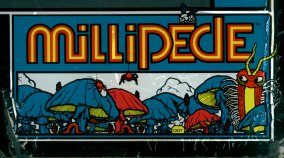
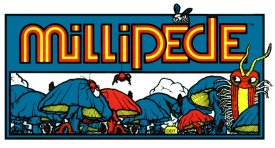
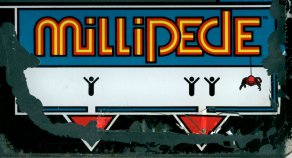
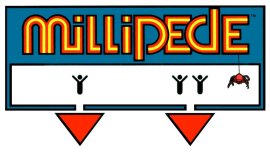
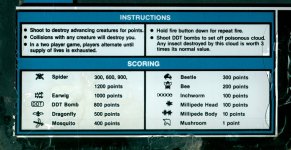
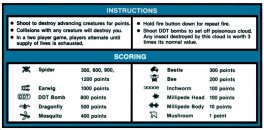
The artwork was printed on IBM Gloss coated ink jet paper using an HP Office jet R80 printer. The paper selection that was used was HP Premium Photo Paper. The artwork came out very bright, crisp and professional looking as seen below. It was then cut-out by hand to give a 1/4" white border to each print.
Then dark grey 3/8" foam weather stripping was used as a seal around the edge of the table top
to keep any liquid from getting under the glass and to give a nice border, Then the new cards were
layed out on the table. The corner cards were attached with double backed tape to ensure they
do not shift when the table top is opened.
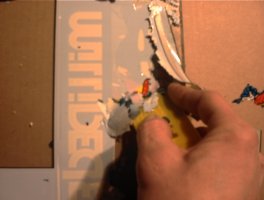
All the original art work was scraped off the glass using a razor blade, with the exception of the center ring that borders the monitor.
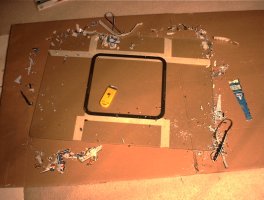
Finally, the glass was reinstalled on the table with the freshly painted clips. and here is the result
The artwork used in the above project can be found in the artwork section on the
instruction card page. Hopefully, these images will help someone else to also restore their machine to glory.
|